Long Arm Quilting

Showing posts with label bag tutorial. Show all posts

Tuesday, January 9, 2018

Quilted Boxy Zipper Bag Tutorial

Hi There and Yay to 2018!!! 

I hope everyone had a great holiday break. I know I am already way back in the swing of my work so I figured I should blog. My resolution for 2018 is to blog more. I do so much fabulous sewing and I have gotten out of the habit of documenting it. It gets given away or sold and I never see or think of it again...its like it never happened.

My husband and I have already made a video tutorial over on Youtube for the way I make Quilted Boxy Zipper Bags. Please go over and have a look. If you are visiting from Youtube, welcome! I am so happy you are here. I have quite a few tutorials here (and over on my old blog) the list is over on the right hand side of the blog as well as several video tutorials over on Youtube. Poke around a bit and make yourself at home. Feel free to make comments or suggestions for future videos too. 


Here is the video if you don't want to go to youtube.

The lighting is funny, but it sure showed all the lint and pet fur on the navy blue fabric. I used a really cheap sheet as the quilt back and it just acted as a magnet to any lint, fur, hair and thread. yippee.


OK, so a couple things that will be important if you want to make the zipper bags. Below is a quick shot of the dimensions for the different sized bags. It is not fancy and it is really the technique I wanted to showcase, not really the pattern. I just wing it whenever I make them anyway. I find a zipper to fit the quilted bit I have ready to go and move on from there. But maybe you want more structure? I get that. I am here for you!

If you want a closer look at how I put in the zippers, here is a LINK to a picture heavy blog I did a couple years ago. It might help you.


I will have the same info below with a couple sample bags pictured too. I have your back!


Bags


More bags!


Both of these bags are made from the same 10" x 16" quilted piece. I just used a different sized zipper and did the sides and boxing of the corners different.


Boxy Zipper Bag

The large bag = 14" sport zipper and 15"x 21" quilt

The Small bag = 9" zipper and a  10" x 16" quilt


Tall Curved top bags
Wide Bag = 12" zipper and 10" x 16" quilt

Skinny Bag = 6" zipper and 7" x 13" quilt


Pencil Bags
*this is the only bag where you will sew the zipper along the longer edge of the quilt sandwich. All the other bags get the zipper sewn along the shorter edges. Muy Importante!!! 

Large bag = 12" zipper and 13" x 11" quilt

Small Bag= 10" zipper and 11" x 9" quilt

So folks, use these formulas to make some great zipper bags. This is just the jumping off place. Go bigger, go smaller do your thing! Practice your quilting and make some great little projects. These are perfect for gifts or to organize your stuff.

I buy my zippers from ZIPIT on Etsy. Her (or his) prices can't be beat and the selection is too awesome.

Ok, let me know if you have any questions!

xo,
Tia

Sunday, February 26, 2017

Grocery Bag Tutorial


We made another video tutorial! This one is for making simple grocery bags. I hope you like it! I have a bit of a cold so it slowed me down a little. I have been meaning to make myself some bags for the grocery store for ages now as the old ones I have are slowly tattering away. 

Materials:

1/2 yard of Home Dec or Canvas fabric
2 yards of heavy cotton twill tape for the straps
and 
regular sewing supplies (sewing machine, thread, ruler. rotary cutter, scissors and pins)


So let me know what you think and let me know what you would like to see in the future.

I buy my heavyweight cotton twill tape from Twilltape.com This is an actual link to the roll of twill tape that I use. It is 1.25 inches and comes on a 72 yard roll. I use it for straps, apron ties and sometimes I even use it as binding around the top of quilted bags. It is great stuff folks.

 TWILL TAPE LINK


Cheers!
Tia

Thursday, May 29, 2014

Teacher Tote Bag 2014 - A tutorial

Hey there! 
I made bags for my kids teachers this year. I have been asked for a tutorial over on instagram, so here it is! This is a really simple tote bag. I did not quilt it, but it would look great if you felt like taking the time to quilt the body of the bag. That would be a great option for customizing it for yourself.


Bag Ingredients:
  • 35 x 22 inch piece of denim or heavy weight fabric for body of bag
  • 10 x 22 inch piece of denim for long pocket
  • 10 x 9 inch piece of denim for the pleated pocket
  • 35 x 22 inch piece of fabric for the lining of the bag
  • 52 inches of heavyweight 1.5 inch wide twill tape
supplies:

  • rotary cutter
  • sewing machine
  • cotton thread
  • chalk pen
  • iron
  • pins
  • sewing machine foot for sewing through thick fabric seams. I used my Bernina Denim foot.
*the pictures are not the best. Please ask questions if you can't see due to my dark basement studio lighting


after cutting out your pattern pieces plug in your iron. For both pockets I flipped the denim over and used the lighter side to give it some contrast. For the long pocket press the bottom under 1/4 inch and press the top part under twice. Top stitch the the seam in place. On one of the bags I added some rickrack during this step...but I was running behind and wasn't wild about the result.


Find the center of the bag. I marked the center with a chalk pen and marked lines 3 inches on each side of the center. This line is important so you know where to place the pockets. Pin your long pocket right on the chalk line. Sew along the bottom of the pocket. You don't need to sew the sides of the pocket because you will make the sides when you sew the sides of the bag.

I thought this piece was to long to be just one pocket so I made it two by making a pen slip at the center point. This was easy by just stitching a tiny divider at the center point.


The pleated pocket is easy to make with pressing and pins. Press the top towards the light side by folding over twice. Press the sides towards the dark side by folding over 1/4 inch. Make your pleat by pinching the center of the bottom and finger pressing it so the fabric makes a pleat. Pin the pleat in place and press with a hot iron. Fold the bottom of the pocket up about 1/2 inch and press with a hot iron. The ironing should be enough to hold the shape of the pocket until you can sew everything down.

Pin the pocket to the body of the bag and stitch down. This is a good time to change your machine foot out to one that easily sews through multiple layers of fabric.


I try to make the straps early on because I hate making straps and just want to get it over with. Fold up the bottom of the twill tape, finger press and pin. You can stitch this down or not. If you don't it is no big deal, because you will catch everything when you sew the bag down to the body of the bag.


Sew down both sides of the body of the bag and the lining. When you sew the lining leave a 6 inch gap in one of the side seams so you can flip the bag right side out. See the next couple pictures if this is confusing.

You will also need to box off the corners of the bag to make gussets. I made my gussets 6 inches.


See - here is the opening I left in the side of the lining.


Pin or clip the lining to the body of the bag. Make the body of the bag right side out and make the lining inside out.


Marry up the side seams of the lining and body.


Sew all the way around the top of the bag.


Flip bag right sides out and stitch up the opening in the lining. Press the seam, then top stitch around the top of the bag a couple times. I thought four lines of stitching looked pretty.


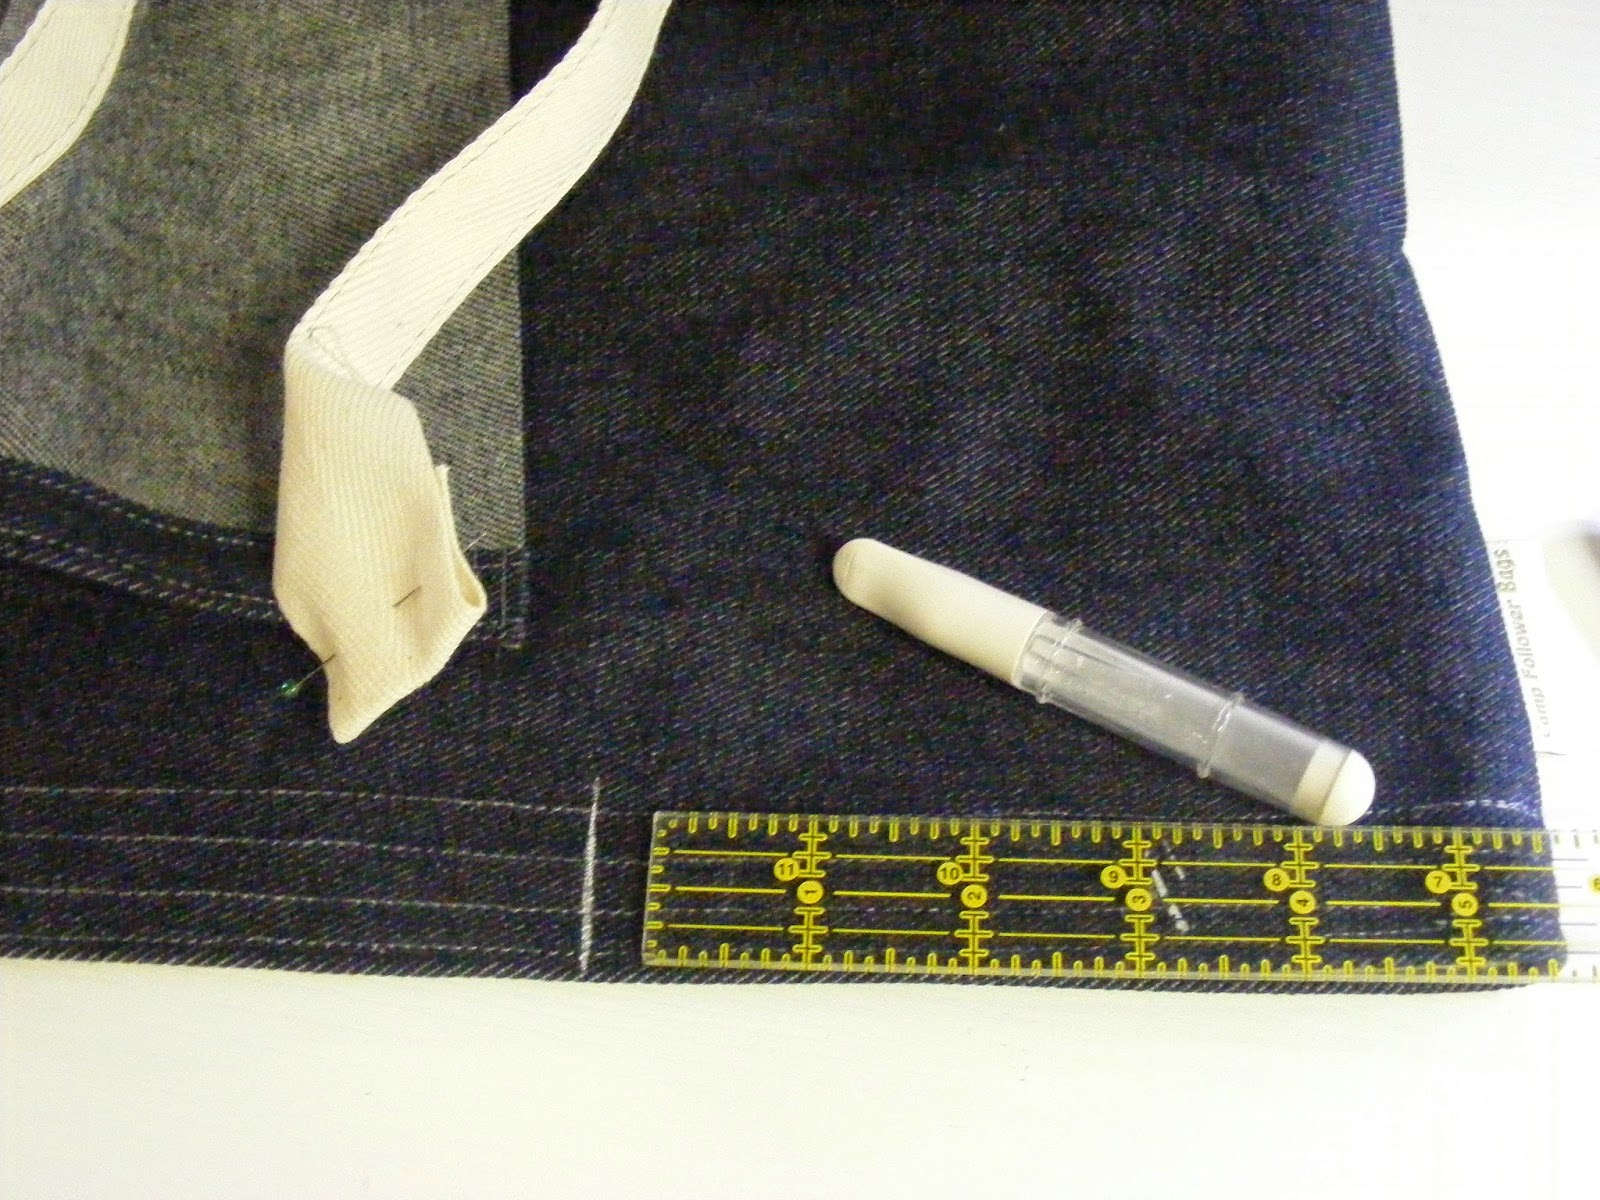
Now for the straps. Use your ruler and chalk to mark a line 5 inches from the side seam. Place your strap to the inside of the mark and sew your strap in place. Do this with both sides of the strap.


You can make a strong box (a stitched box with an X in the middle) or just go back and fourth a bunch of times. What ever you like the best.


Bamm! You are done. Make lots of them and give them away. Show me what you made and share the tutorial with your friends. Please asks questions if something isn't clear.


It would be easy to add pockets inside, but everything in my bags winds up lost in a snarl at the bottom anyway so I didn't mess with it.

Happy sewing folks! Let me know what you think and I will do more tutorials.

xo,
Tia Curtis